How to Install the macOS 27 Public Beta Safely (Golden Gate)
A careful step-by-step 2026 guide to installing the macOS 27 Golden Gate public beta safely: back up first, use an APFS volume, and downgrade cautions.
Every July, the same wave of curiosity rolls across Mac forums: the public beta of the next macOS is about to land, and thousands of people who aren't developers suddenly want in. This year it's macOS 27 "Golden Gate," unveiled at WWDC on June 8, 2026, and Apple has confirmed the public beta arrives sometime in July 2026 — though, as of this writing on July 2, 2026, no exact date has been announced. When it drops, it will show up quietly inside Software Update for anyone enrolled in the Apple Beta Software Program.
Here's the thing the excitement tends to skip over: a public beta is still beta software. It is more stable than the developer beta that shipped on keynote day, but it can still break third-party apps, drain your battery, misbehave with VPNs and drivers, and — most importantly — it cannot be casually undone. Going back to stable macOS Tahoe means erasing your Mac and restoring from a backup. If you skip the preparation, a lazy afternoon of curiosity can turn into a weekend of recovery.
This guide is written for the cautious, mainstream tester — not the developer racing to update an app before September, but the enthusiast who wants to try Golden Gate early without gambling their primary machine. We'll cover what the public beta actually is, whether you should install it at all, and then the real heart of the matter: how to prepare properly and install it the safe way, ideally on a separate APFS volume or a spare Mac. We'll finish with how to report bugs, how to get back to stable, and how to set realistic expectations for beta-quality software. If you'd rather read the honest bug-by-bug field report first, our companion piece on whether you should install the macOS 27 developer beta pairs well with this one.
Key Takeaways
- The macOS 27 "Golden Gate" public beta arrives in July 2026, but Apple hasn't announced an exact date as of July 2, 2026 — watch beta.apple.com and your Software Update pane for it to appear.
- Golden Gate is Apple silicon only (M1 or newer). It is the first macOS to drop Intel entirely, and the last to include full Rosetta 2. Intel Macs cannot install it at all.
- Back up before you do anything else. Make a full Time Machine backup and, ideally, a bootable clone or archive. A backup taken while running the beta cannot cleanly restore you to Tahoe.
- The safest way to try Golden Gate is on a separate APFS volume or a spare Mac — a sandbox that leaves your working system untouched and bootable.
- You cannot easily downgrade. Returning to stable Tahoe requires a full erase and restore, so treat the beta as a one-way door unless you're prepared to wipe.
- Some headline features aren't in this beta. The Siri AI upgrade ships as a separate beta later in the year and is English-only at launch, so don't install expecting the full AI experience on day one.
What the macOS 27 Public Beta Actually Is
Before you install anything, it helps to understand exactly which flavor of pre-release software you're signing up for. Apple ships macOS in three broad pre-release stages, and they are not interchangeable.
Developer beta vs. public beta vs. release candidate
The developer beta comes first. Golden Gate's developer beta 1 landed on June 8, 2026 (build 26A5353q), with beta 2 following on June 22 (build 26A5368g). Developer betas are aimed at people who write and test software — they are the earliest, rawest builds, and they typically arrive weeks before the general public gets anything. Historically these required a paid developer account, though in recent years Apple opened developer betas to any free Apple Account. They change frequently and break things often.
The public beta comes next, usually a few weeks after the first developer beta once Apple has smoothed the sharpest edges. This is what's arriving in July 2026. It is aimed at ordinary enthusiasts, not developers, and it's distributed through the free Apple Beta Software Program. The public beta is generally a build or two behind the developer track and is meant to be more stable — but "more stable than a keynote-day developer beta" is a low bar. It is still beta software with real bugs.
The release candidate (RC) is the final stage, arriving shortly before the public launch in the fall. An RC is, in theory, the finished build that will ship to everyone in September — Apple gives it a final round of testing, and if no showstoppers surface, that exact build becomes the public release. RCs are the safest pre-release option, but by the time one appears, the general availability launch is only days or weeks away, so there's little reason to rush.
Which one is arriving, and who should use it
The build arriving in July is the public beta. It's the right choice if you're a curious, non-developer Mac user who wants an early look and is willing to accept some rough edges. It is not the right choice if you need rock-solid reliability today — for that, wait for the RC or the fall public release. If you want the full picture on Golden Gate itself — the features, the compatibility list, the release timeline — our macOS 27 Golden Gate announcement roundup covers the WWDC reveal in detail.
Should You Install the macOS 27 Public Beta at All?
This is the question that matters most, and the honest answer is: it depends entirely on which Mac you'd install it on. The public beta is genuinely more polished than the developer beta, but "more polished" doesn't mean "safe for your only computer."
The honest risk framing
Let's be blunt about what can go wrong, because the marketing gloss around a new macOS tends to bury it:
- Third-party apps can break. VPN clients, security tools, kernel-level drivers, virtualization software, and professional creative apps (audio plug-ins, video codecs, scientific tools) are the usual casualties. Vendors need time to certify their software against the new OS, and during the beta period many simply don't work.
- Battery life often regresses. Beta builds carry extra logging and debug instrumentation, and power management isn't fully tuned until late in the cycle. Expect shorter runtimes on a laptop.
- Performance can be uneven. Even in a refinement-focused release, early betas can stutter, hang, or spike CPU as background indexing and new subsystems settle in.
- You cannot easily go back. This is the big one. There's no "undo." Reverting to stable Tahoe means erasing the disk and restoring from a backup — a process covered in detail in our downgrade macOS 27 beta to Tahoe guide.
Who should install it
You're a reasonable candidate if you have a spare or secondary Mac — an older M1 machine you don't rely on, or a test device — that you can dedicate to the beta. You're also fine if you're comfortable with the separate-APFS-volume approach described later, which keeps your working system on stable Tahoe and bootable while giving Golden Gate its own sandbox. In both cases, the beta can't take down anything you depend on.
Who should not install it
If the Mac in question is your primary work machine — the one that pays your bills, runs your deadlines, holds your only copy of anything, or connects to a managed corporate network — do not install the public beta on it. The risk-to-reward ratio is upside down. A broken VPN or a crashed pro app on the morning of a deadline is not worth an early look at a transparency slider. Wait for the fall release. Similarly, if your workflow depends on a specific app that hasn't confirmed beta compatibility, hold off until it does.
Before You Install: Verify Your Mac Is Even Eligible
There's no point preparing if your Mac can't run Golden Gate in the first place, and this year the eligibility line moved in a way that catches a lot of people off guard.
Apple silicon only — the Intel era is over
macOS 27 Golden Gate is Apple silicon only. It requires an M1 chip or newer, and it is the first version of macOS to drop Intel support entirely. If you're on any Intel-based Mac — even a high-end 2019 or 2020 model — you cannot install Golden Gate at all. Tahoe was the end of the road for those machines.
Golden Gate is also the last macOS to include full Rosetta 2, the translation layer that lets Apple silicon Macs run older Intel-only apps. If you rely on Intel-only software, this is worth planning around; our Rosetta 2 sunset and Intel app audit guide walks through how to check what you'll lose.
How to check your chip
To confirm what you have, click the Apple menu in the top-left corner of your screen and choose About This Mac. In the window that appears, look at the Chip line. If it reads "Apple M1," "Apple M2," "Apple M3," "Apple M4," or newer — including the Pro, Max, and Ultra variants — you're eligible. If it reads "Intel Core" anything, you are not, and the rest of this guide won't apply to your machine.
While you're in About This Mac, note how much memory your Mac has, too. Some of Golden Gate's on-device AI features have higher RAM floors, and knowing your configuration now saves confusion later.
Pre-Install Preparation: The Part You Cannot Skip
This is the heart of a safe beta install. Ninety percent of beta horror stories trace back to skipped preparation. Do these steps before you touch Software Update, in roughly this order.

Step 1: Make a complete, verified backup
Back up twice, using two different methods, because betas are exactly the scenario backups exist for.
Time Machine is your baseline. Connect an external drive, open System Settings > General > Time Machine, add the disk, and let a full backup complete. Do not start the beta install until Time Machine reports a finished backup with today's date. This gives you a restorable snapshot of your current Tahoe system.
A bootable clone or full archive is the belt-and-suspenders layer. A cloned copy of your startup disk (made with a reputable cloning tool) or a complete archive of your important data means that even if Time Machine has trouble, you have a second path back. For a full comparison of approaches — Time Machine, iCloud, and clones — see our best Mac backup strategy guide.
One critical warning that surprises people every year: a backup you make after installing the beta cannot cleanly restore you to Tahoe. Time Machine backups created while running macOS 27 carry the newer OS's data format and won't roll back onto a Tahoe system without problems. The backup that saves you is the one you take before you install. There is no substitute for it.
Step 2: Verify your critical apps are beta-compatible
Make a short list of the apps you genuinely can't live without for a week — your VPN, your password manager, your main creative or productivity tools, anything with a driver or kernel extension. Then check each vendor's release notes, support page, or community forum for macOS 27 / Golden Gate compatibility. Security tools, VPNs, and pro audio/video software are the most common breakers. If a must-have app hasn't confirmed support, that alone is a good reason to wait or to install only on a sandbox volume.
Step 3: Free up disk space
The macOS 27 installer and the installation process together need a substantial amount of free space — plan for at least 30–40 GB free, and more is safer, especially if you're installing to a new APFS volume that will grow as it's used. Open System Settings > General > Storage to see what you have and to clear out large files you don't need. Running the install with a nearly full disk is a reliable way to get a stuck or failed installation.
Step 4: Export and note anything irreplaceable
Beyond the full backup, take a few minutes to export your genuinely irreplaceable items to a separate location: photos you haven't synced, documents in progress, license keys, 2FA recovery codes, and any local-only databases. Think of it as a manual insurance policy on top of your automated backups. Also note your passwords and recovery keys somewhere safe — if something goes wrong and you need to erase, you'll want them handy.
Step 5: Understand that downgrading means erasing
Internalize this before you commit: there is no easy downgrade from a macOS beta. Going back to stable Tahoe requires putting the Mac into recovery, erasing the disk, and reinstalling — then restoring your data from that pre-install backup. It's not hard if you prepared, but it is a full wipe. Read the downgrade guide before you install, not after, so you know exactly what the exit looks like.
The Safest Install Method: A Separate APFS Volume
Here's the single best tip in this entire guide, and it's the one most people don't know about. You do not have to install Golden Gate over your main system. On Apple silicon Macs, you can install it into a separate APFS volume on your existing internal disk, creating a dual-boot setup where your primary Tahoe system stays completely untouched and bootable.
Why an APFS volume is the safe path
APFS — Apple's file system — lets multiple volumes share the same physical disk and the same free space, without fixed partitions. That means you can carve out a new volume for the beta in seconds, install Golden Gate onto it, and then choose which OS to boot into at startup. Your work stays on the Tahoe volume; the beta lives in its own sandbox. If Golden Gate misbehaves, you simply reboot back into Tahoe. When you're done experimenting, you delete the beta volume and reclaim the space — no erase, no restore, no drama.
This is dramatically safer than installing over your only system, and it's the method we recommend for anyone testing on their main Mac rather than a spare.
How to create the volume
- Open Disk Utility (Applications > Utilities).
- Select your internal drive container (usually "Macintosh HD" under the container in the sidebar).
- Click the + button in the toolbar to Add APFS Volume.
- Give it a clear name like "Golden Gate Beta" and click Add. Because APFS volumes share free space, you don't need to pre-assign a size, though you can set a reserve if you like.
- Close Disk Utility. The new volume is ready to receive the install.
When you run the beta installer (next section), you'll simply choose this new volume as the destination instead of your main system. To switch between the two operating systems afterward, shut down, then press and hold the power button until "Loading startup options" appears, and pick the volume you want to boot from.
An external disk works too
If you'd rather keep the beta entirely off your internal drive, you can install Golden Gate onto an external SSD instead. A fast USB-C or Thunderbolt SSD makes a fine beta target: install to it, boot from it when you want to explore, and unplug it to return to your normal system. It's slightly slower than an internal volume but keeps the sandbox physically separate. And of course, the very safest option of all is a spare Mac you don't depend on — nothing on your primary machine is at any risk.
Enrolling and Installing: The Step-by-Step Walkthrough
Once your backups are done and you've decided where to install, the actual process is straightforward. Modern macOS uses a built-in enrollment flow — there is no longer any downloadable configuration profile to install, the way older versions required. Everything happens through your Apple Account and Software Update.
Step 1: Sign up for the Apple Beta Software Program
Open a browser and go to beta.apple.com. Sign in with your free Apple Account (the same one you use for iCloud and the App Store) and, if this is your first time, accept the program agreement to enroll. Enrollment is free — there's no developer fee for the public beta. This step simply tells Apple your account is allowed to see public beta builds.
Step 2: Open Beta Updates in Software Update
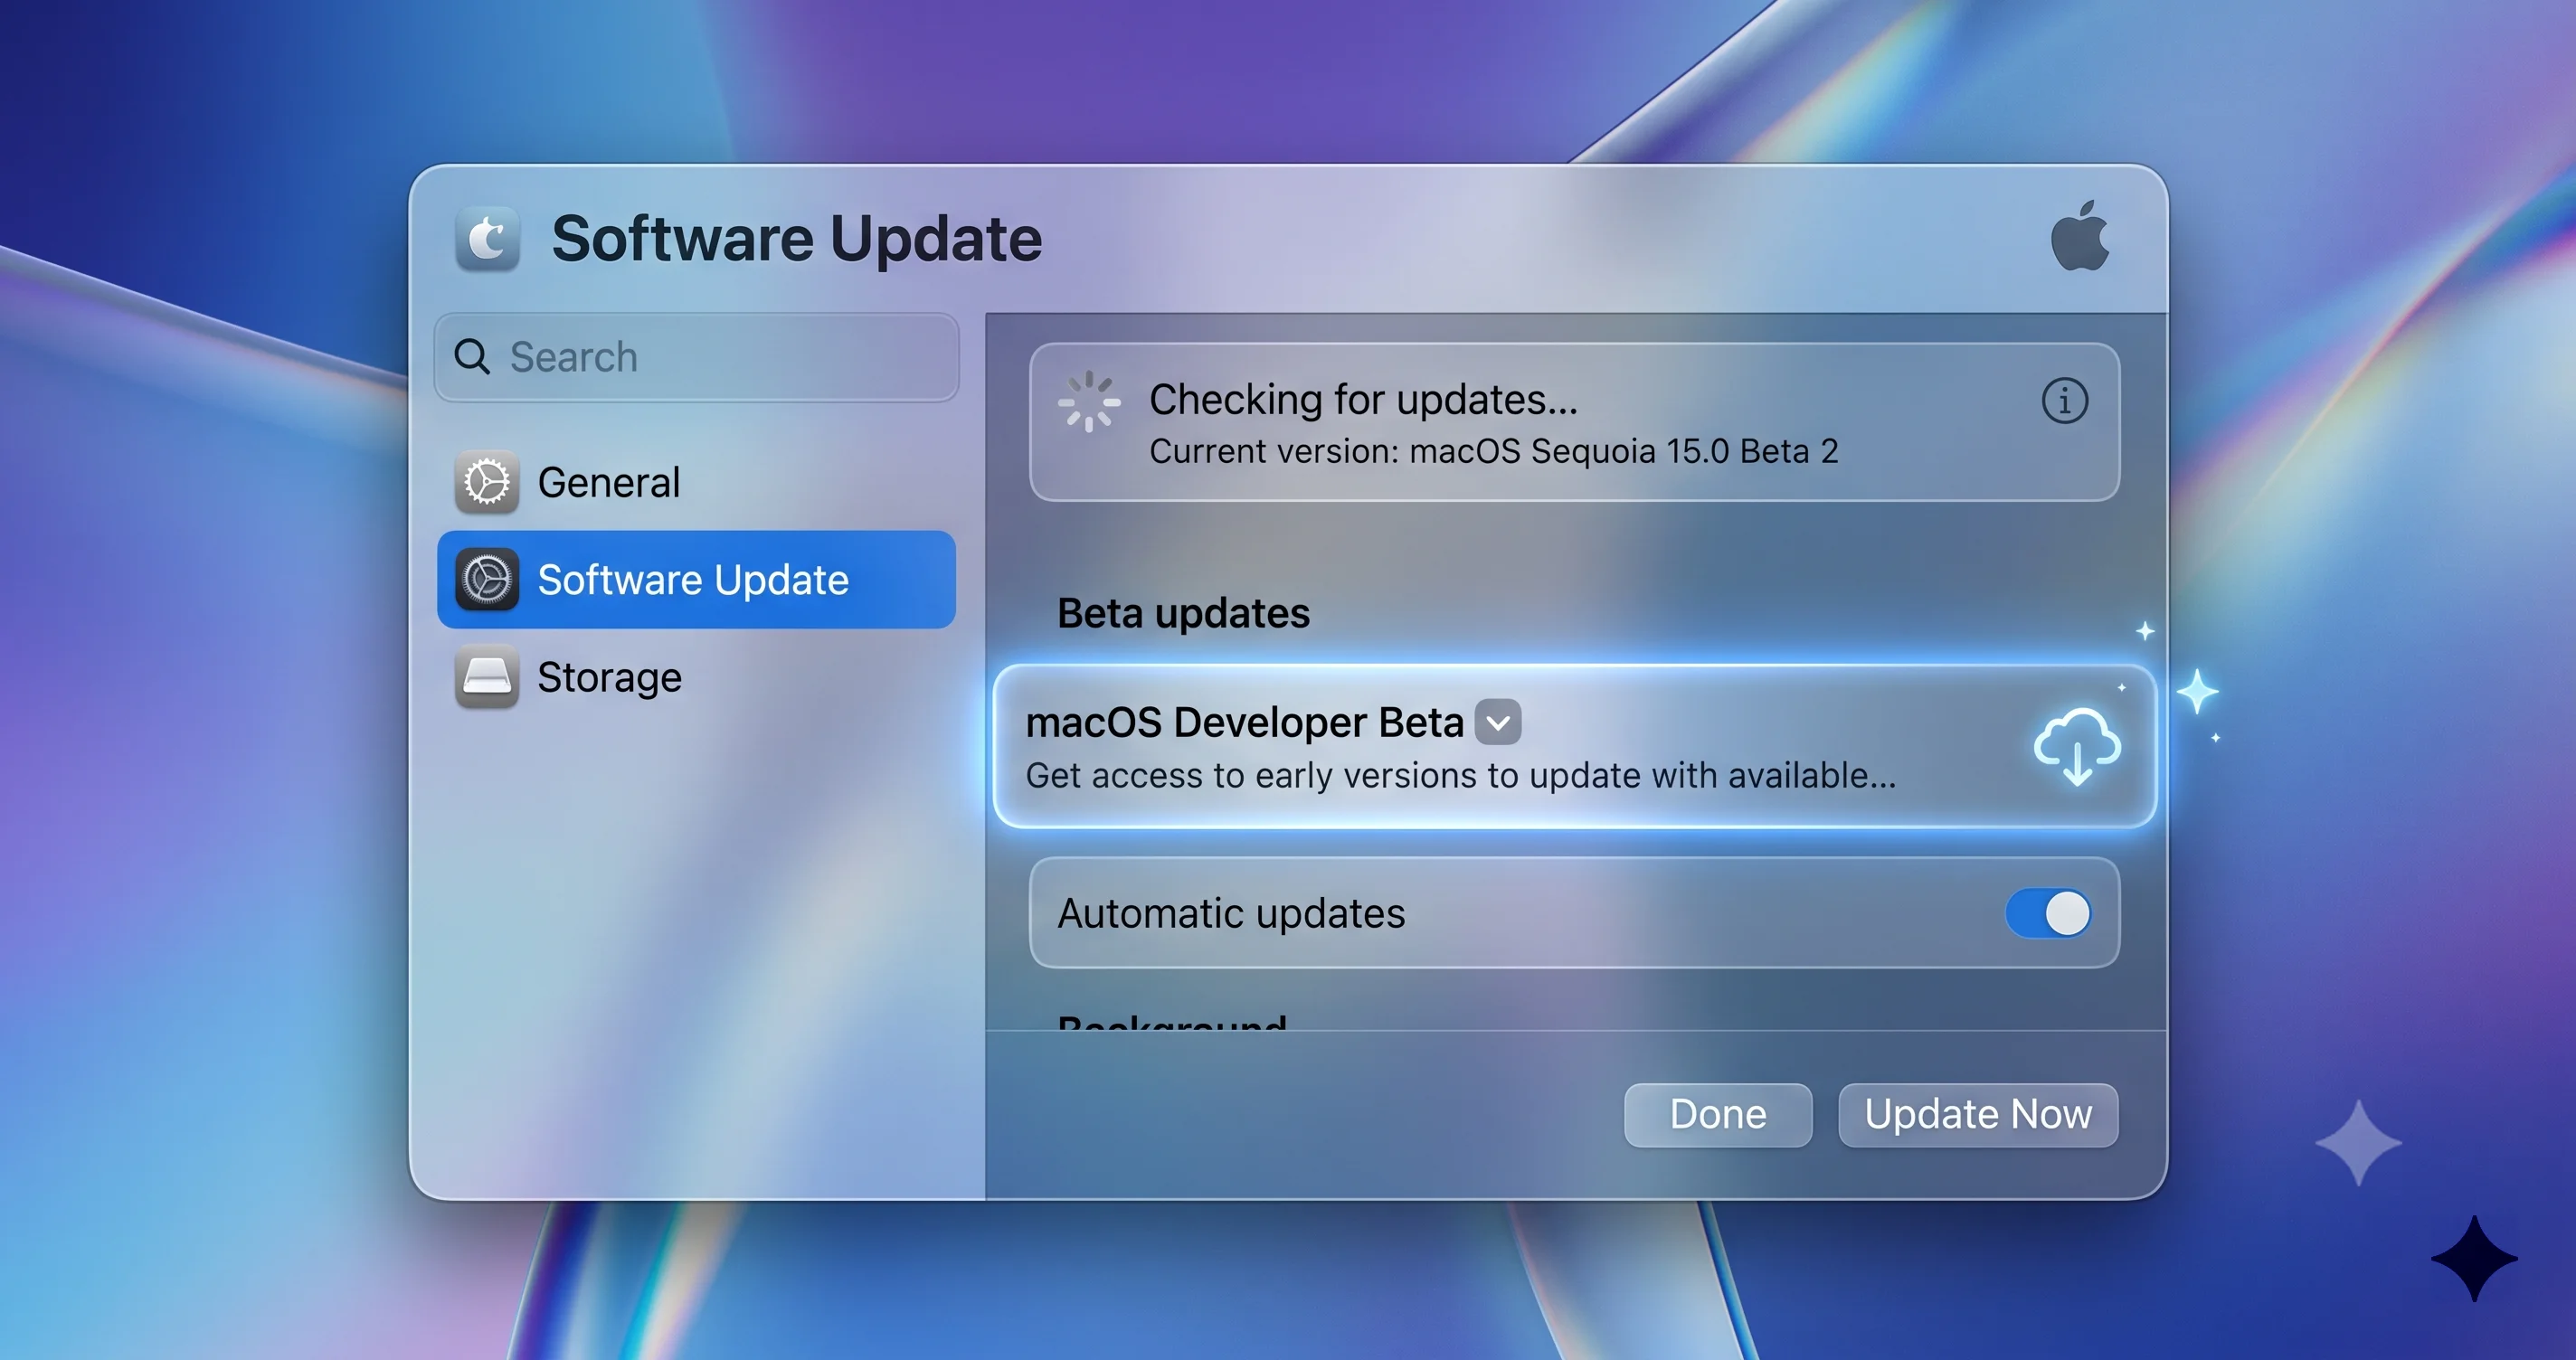
On the Mac where you want the beta, open System Settings > General > Software Update. Next to Beta Updates, click the info button (or the toggle) to open the beta options. This is the modern enrollment control that replaced the old profile method.
Step 3: Choose "macOS 27 Public Beta"
In the Beta Updates panel, open the dropdown and select "macOS 27 Public Beta." You'll only see this option if the Apple Account signed in to this Mac is the one you enrolled at beta.apple.com, and — importantly — only once Apple has actually released the public beta. As of July 2, 2026, that release hadn't happened yet, so if the option isn't there, it may simply not be out. Keep an eye on beta.apple.com and Apple's announcements for the exact date.
Step 4: Download and install
After selecting the public beta, go back to the main Software Update screen. Within a moment, macOS 27 Golden Gate should appear as an available update. Click Download, and when it finishes, click to install. The installer is large — expect a multi-gigabyte download — so a stable connection and some patience help.
If you're using the safe APFS-volume method, when the installer asks where to install, choose the "Golden Gate Beta" volume you created earlier rather than your main system disk. This is the step that keeps your working install of Tahoe safe. The Mac will restart into the installer, run through several automatic reboots (this can take 30–45 minutes), and eventually boot into a fresh Golden Gate setup on that volume. Your Tahoe system remains exactly as you left it, one reboot away.
If you're installing on a dedicated spare Mac, just install normally — there's no volume to choose.
After the Install: First Steps and Reporting Bugs
Congratulations — you're running Golden Gate. Now do a few things to make the experience useful rather than just novel.
Report bugs with Feedback Assistant
The entire point of a public beta is that Apple wants your feedback. When something breaks, misrenders, or behaves oddly, open the Feedback Assistant app (it's pre-installed on beta builds — search for it with Spotlight). File a report with a clear description, steps to reproduce, and — this is the valuable part — let it attach diagnostic logs and a screenshot. Well-written feedback with attached logs is far more likely to result in a fix than a vague "this is broken" note. You're not just a tester; you're part of how the fall release gets better.
If things go wrong
If Golden Gate becomes unstable, work through the mild fixes first: restart, check for a newer beta build in Software Update (Apple ships fixes every couple of weeks), and disable or uninstall any third-party extension that might be conflicting. If you installed to a separate volume or external disk, your escape hatch is simple — reboot into your Tahoe volume and carry on with your normal work while you wait for the next beta.
Explore what's actually new — and what isn't yet
Golden Gate leans into a Snow Leopard-style refinement philosophy: performance and polish over a flood of new features. You'll find refinements to the Liquid Glass interface, including a new transparency-control slider that lets you dial the translucency up or down to taste. Safari gains automatic tab groups and a "Notify Me" feature, and AirDrop and network browsing are noticeably faster.
A crucial caveat so you're not disappointed: the headline Siri AI upgrade and Visual Intelligence coming to Mac are not fully in this initial beta. The big Siri AI overhaul ships as a separate beta later in the year and is English-only at launch — it is not part of the July public beta or even the fall launch build. So if you're installing specifically to try conversational Siri, you'll be waiting. When those features do arrive, our guides on using Siri AI on the Mac and using Visual Intelligence on the Mac will walk you through them.
How to Leave the Beta and Return to Stable
At some point you'll want off the beta train — either because you've seen enough, or because the fall release is near. There are two very different ways back, and choosing correctly matters.
The easy way: turn off Beta Updates and wait
If you can live with the beta until macOS 27 ships publicly in the fall (September) 2026, the painless route is to simply stop receiving new betas. Go to System Settings > General > Software Update, open Beta Updates, and set the dropdown to Off. Your Mac stays on its current build, but it stops pulling new beta versions. Then, when Apple releases the final public version of macOS 27, your Mac will offer that stable build as a normal update — and installing it moves you cleanly onto the shipping release with no erase required. This is the recommended path for most people who used the safe method, because it involves no data loss at all.
The full way: erase and go back to Tahoe now
If you need to return to stable macOS Tahoe immediately — because the beta is too disruptive and you can't wait for fall — that requires a complete erase and restore. You'll boot into recovery, erase the disk, reinstall Tahoe, and restore your data from the pre-beta backup you made earlier. This is the one-way-door situation we kept warning about, and it's exactly why the backup step was non-negotiable. Because it's involved and easy to get wrong, follow our dedicated downgrade macOS 27 to Tahoe guide step by step rather than improvising.
If you used the separate APFS volume method, none of this applies — you just delete the beta volume in Disk Utility and reboot into your untouched Tahoe system. That's the whole reason the volume method is worth the small extra effort.
Setting Realistic Expectations for Beta Software
A public beta is better than a developer beta, but it is not a finished product, and going in with the right mindset saves a lot of frustration.
Expect occasional bugs: apps that quit unexpectedly, UI elements that flicker or misalign, features that don't quite work, and settings that don't stick. Expect shorter battery life on a laptop. Expect that some third-party apps simply won't run until their developers update them. Expect that the newest headline features may not be present — as noted, the marquee Siri AI work arrives later and in English only.
Most importantly, treat the beta as something you experiment with, not something you depend on. If a broken app or a lost afternoon would genuinely disrupt your life, that's a sign you should be using the sandbox volume method or a spare Mac — never your primary machine. The people who have a good beta experience are the ones who prepared for the worst and were pleasantly surprised. The people who have a bad one are the ones who assumed "public beta" meant "safe."
It also helps to remember the purpose of the public beta from Apple's side. You aren't being handed a finished product early as a reward; you're being invited to help find the bugs that the developer beta didn't catch, on the enormous variety of real-world hardware and app combinations that only the public can provide. That framing changes how you should react when something breaks: the right response isn't frustration, it's a good Feedback Assistant report. Every reproducible bug you file with logs attached genuinely improves the version that ships to hundreds of millions of Macs in the fall. If you approach the beta as a contributor rather than a consumer, the occasional rough edge stops feeling like a defect and starts feeling like the whole point.
Finally, pace your updates. Apple ships a new public beta build every couple of weeks through the summer, and each one tends to be more stable than the last. There's no need to chase every single build the moment it appears — if your current build is working, it's often fine to wait a few days for early reports on the newest one before you update. A little patience with the update cadence keeps the experience smooth right through to the September release.
Troubleshooting Common Issues
Even with careful preparation, a few snags come up often enough to be predictable. Here's how to handle the most common ones.
"macOS 27 Public Beta" doesn't appear in the Beta Updates dropdown
First, confirm the Apple Account signed in to your Mac (System Settings > [your name]) is the same account you enrolled at beta.apple.com — enrollment is tied to the account, not the device. Second, remember that as of early July 2026 the public beta may not have been released yet; if Apple hasn't shipped it, no dropdown will show it. Sign out and back in to Software Update, restart the Mac, and check beta.apple.com for the release announcement. If the option still doesn't appear after the beta is confirmed out, re-enroll your account on the website.
The download is stuck or won't complete
Large beta downloads can stall on a busy launch day or a flaky connection. Cancel the download, quit and reopen System Settings, and try again on a wired or more stable Wi-Fi connection. Make sure you have plenty of free disk space (30–40 GB or more) — a full disk silently kills installs. If it's still stuck, restart the Mac and retry; Apple's beta servers are often overloaded in the first hours after a public beta drops, so waiting a few hours can help.
A critical app broke after installing
This is expected during a beta. First, check the app vendor's site for a beta-compatible update — many ship one quickly. If none exists, and the app is essential, this is your cue to fall back: if you installed on a separate volume or external disk, reboot into Tahoe and use the app there. If you installed over your main system, you'll either wait for the developer to update or begin the downgrade process. This scenario is precisely why the sandbox method is worth it.
You want to go back and aren't sure how
Decide which exit you need. If you can wait for the fall release, just turn off Beta Updates and let the stable version arrive as a normal update. If you need to return to Tahoe now, you'll erase and restore from your pre-beta backup — follow the downgrade guide carefully. And if Time Machine itself is misbehaving during recovery, our Time Machine troubleshooting guide covers the common restore-time errors.
FAQ
When exactly is the macOS 27 public beta coming out?
Apple has confirmed the Golden Gate public beta arrives in July 2026 but has not announced a specific date as of July 2, 2026. Watch beta.apple.com and your Mac's Software Update pane. Once it's live, "macOS 27 Public Beta" will appear in the Beta Updates dropdown for enrolled accounts.
Can I install the macOS 27 public beta on my Intel Mac?
No. Golden Gate is Apple silicon only and requires an M1 chip or newer — it's the first macOS to drop Intel entirely. Check by choosing Apple menu > About This Mac and looking at the Chip line. If it says Intel, you cannot install macOS 27 on that machine at all.
Is the public beta safe for my main work Mac?
Not recommended. It can break VPNs, drivers, and pro apps, reduce battery life, and can't be easily undone. If you want to try it on your primary Mac, use the separate APFS volume method so your working Tahoe system stays intact. Otherwise, wait for the fall release.
How do I go back to stable macOS Tahoe after installing the beta?
Two ways. If you can wait until fall, just turn off Beta Updates and install the final release when it ships. To return immediately, you must erase the disk and restore from the backup you made before installing — there's no easy downgrade. See our dedicated downgrade guide for the full steps.
Will I get the new Siri AI features in this beta?
Not at launch. The major Siri AI upgrade ships as a separate beta later in 2026 and is English-only initially — it is not part of the July public beta. The initial Golden Gate beta focuses on performance refinement, Liquid Glass tweaks, Safari improvements, and faster AirDrop.
Do I still need to install a configuration profile like older betas?
No. Modern macOS uses built-in enrollment. You sign up once at beta.apple.com with your Apple Account, then choose the public beta from System Settings > General > Software Update > Beta Updates. The old downloadable configuration profile method is gone.
Conclusion
Trying the macOS 27 "Golden Gate" public beta can be genuinely fun — an early look at Apple's refinement-focused release, the new transparency controls, a faster AirDrop, and a smoother Safari. But the difference between a good beta experience and a bad one has almost nothing to do with luck and almost everything to do with preparation. Back up twice before you start. Confirm your Mac is Apple silicon. Install onto a separate APFS volume or a spare Mac so your real work stays safe and bootable. Know your exit before you walk through the door. Do those things, and the worst-case scenario is a quick reboot back to Tahoe.
The single most important takeaway: a public beta is still beta software, and there is no easy undo. Respect that, prepare for it, and you can explore Golden Gate this summer without risking a thing.
Ready to go? When the public beta appears, enroll at beta.apple.com, make your backups, and take the safe path. And before you commit, skim our companion reads — the developer beta known-issues report, the Golden Gate feature and compatibility roundup, and the downgrade-to-Tahoe guide — so you install with your eyes open. Happy testing.